
Building an Arduino Robot (for Testing Whiley)
The Whiley programming language is about developing more reliable software and, of course, embedded systems is one of the biggest areas that could benefit. Obviously, then, we need an “embedded system” to test Whiley with, right? At least, that’s the thinking behind my recent endeavor to create an Arduino-based Robot.
After some discussion with our workshop folks, I managed to acquire the following bits:
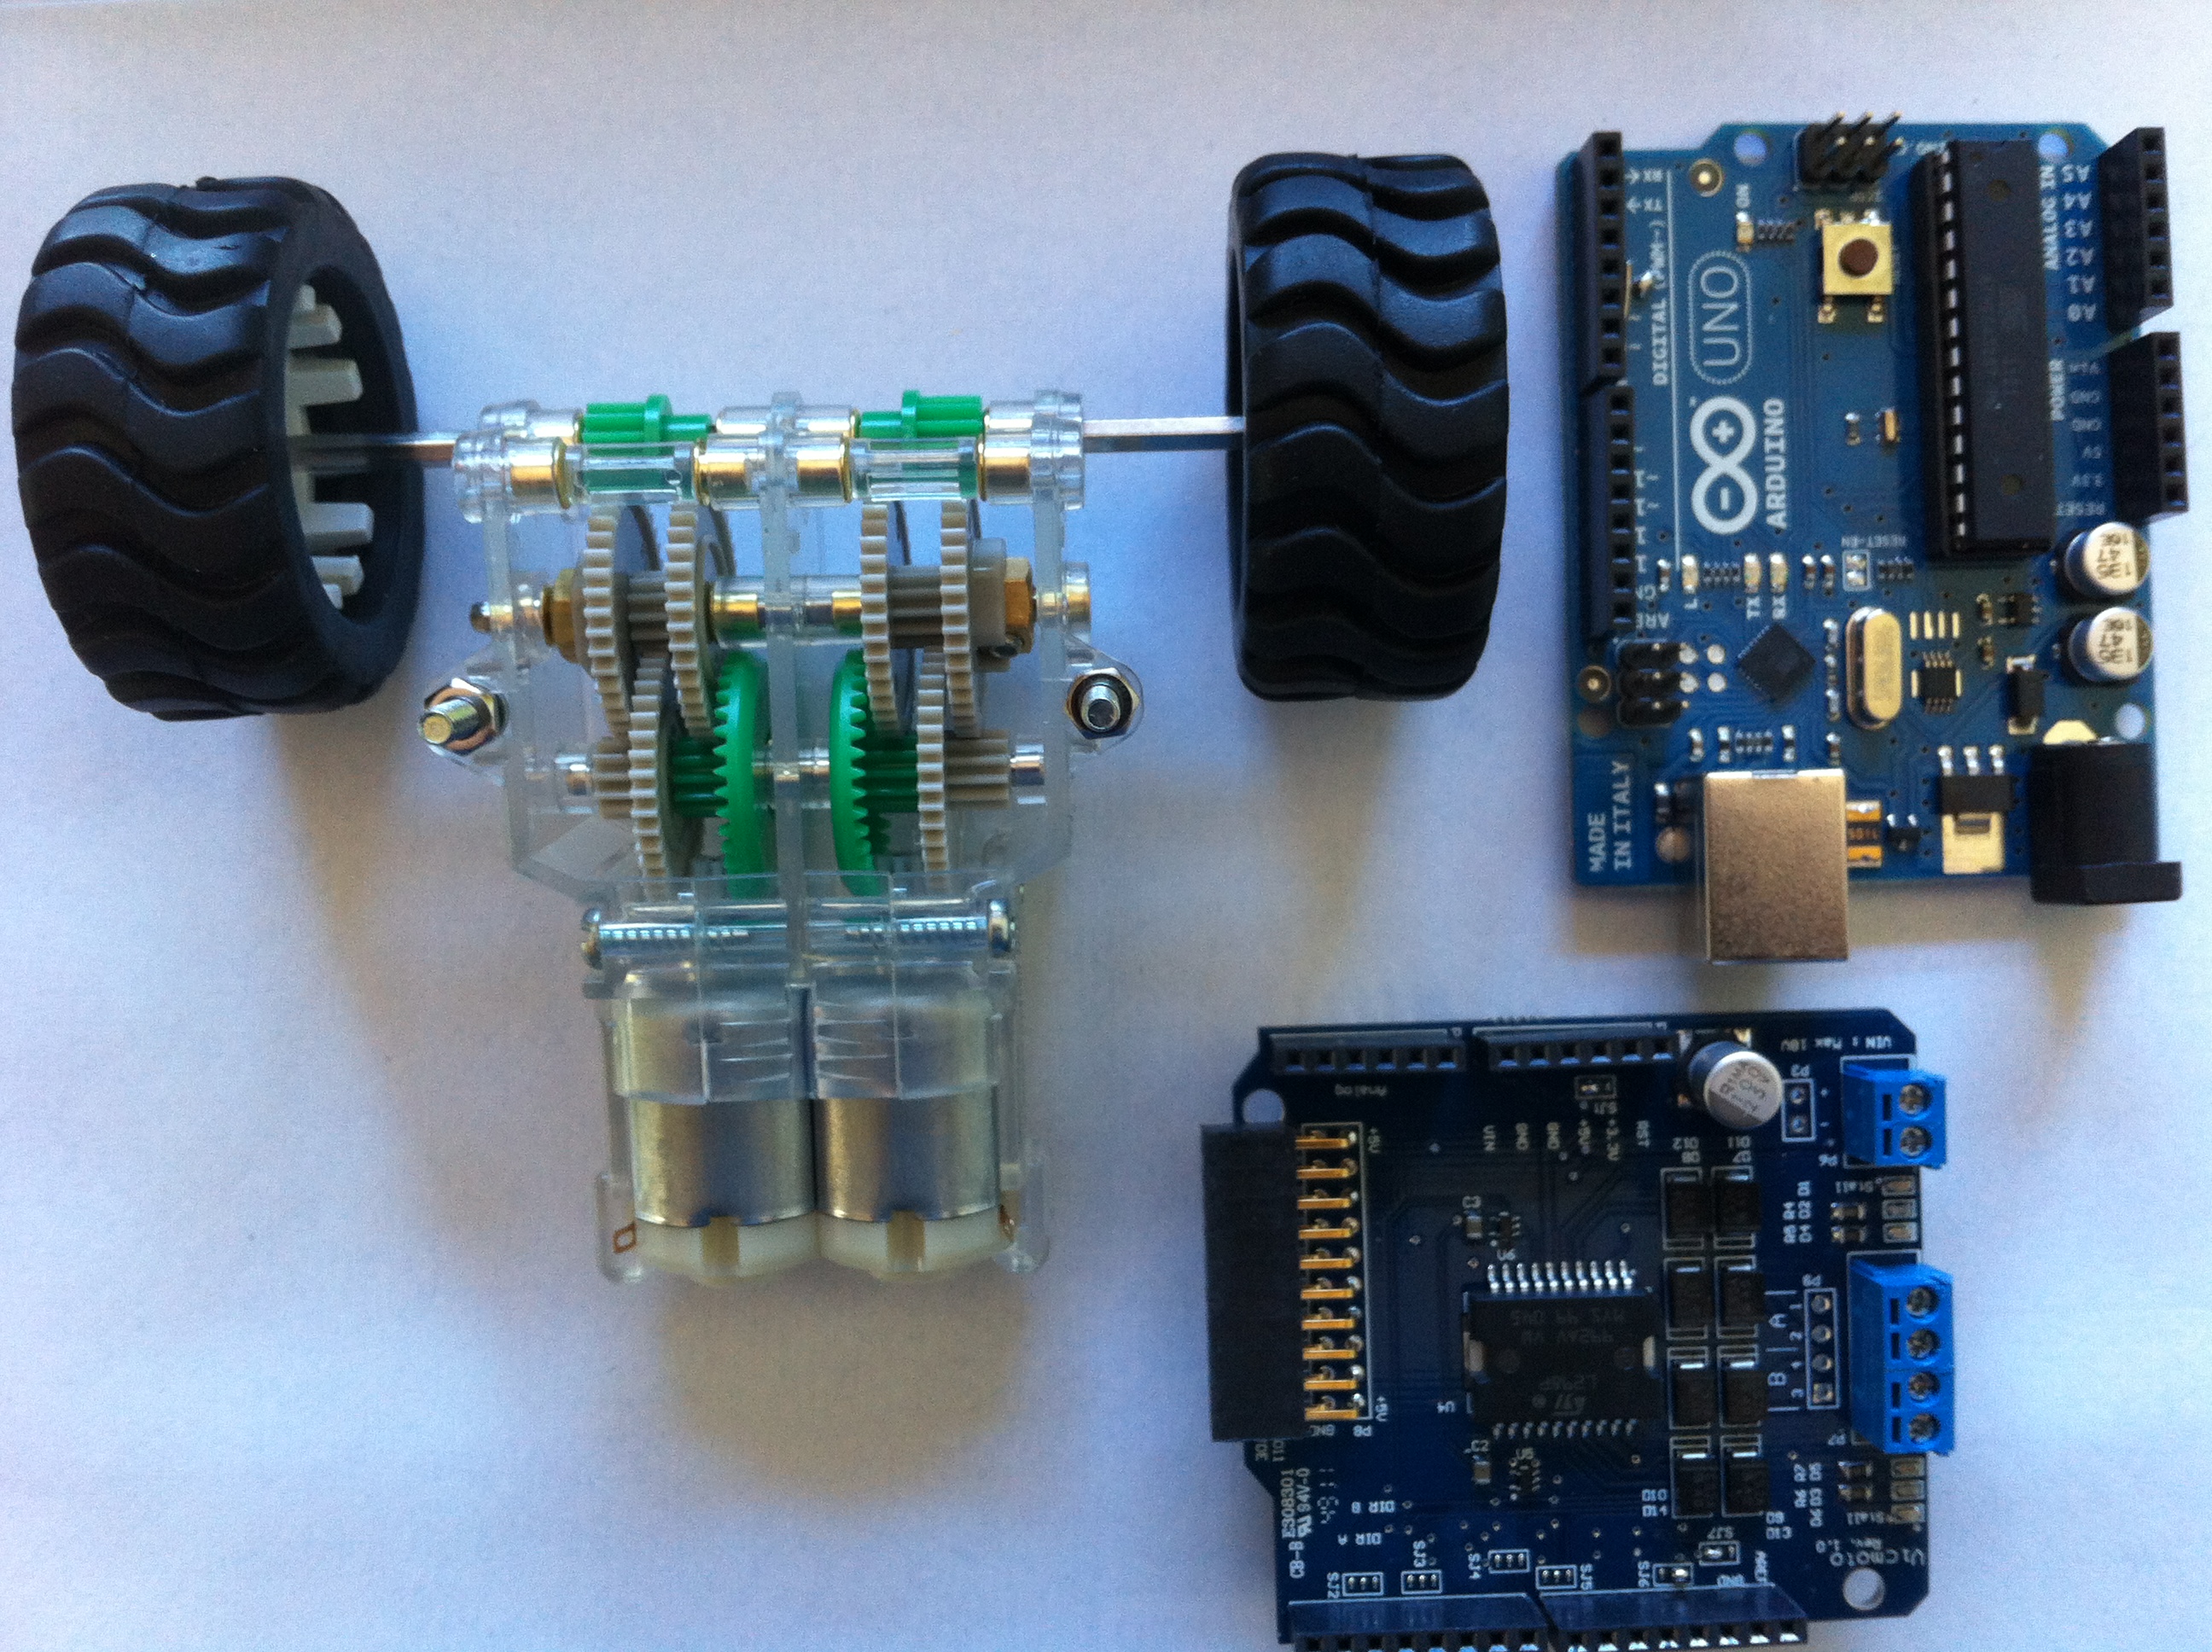
Here, we have an Arduino Uno (top right), a Motor Shield (bottom right) and a Tamiya dual motor gearbox. The Motor shield sits on top of the Arduino Uno, and provides necessary power for driving the two DC motors on the Tamiya gearbox. I also acquired an Infra-Red sensor from our workshop, which can be used for determining distance to objects ahead:
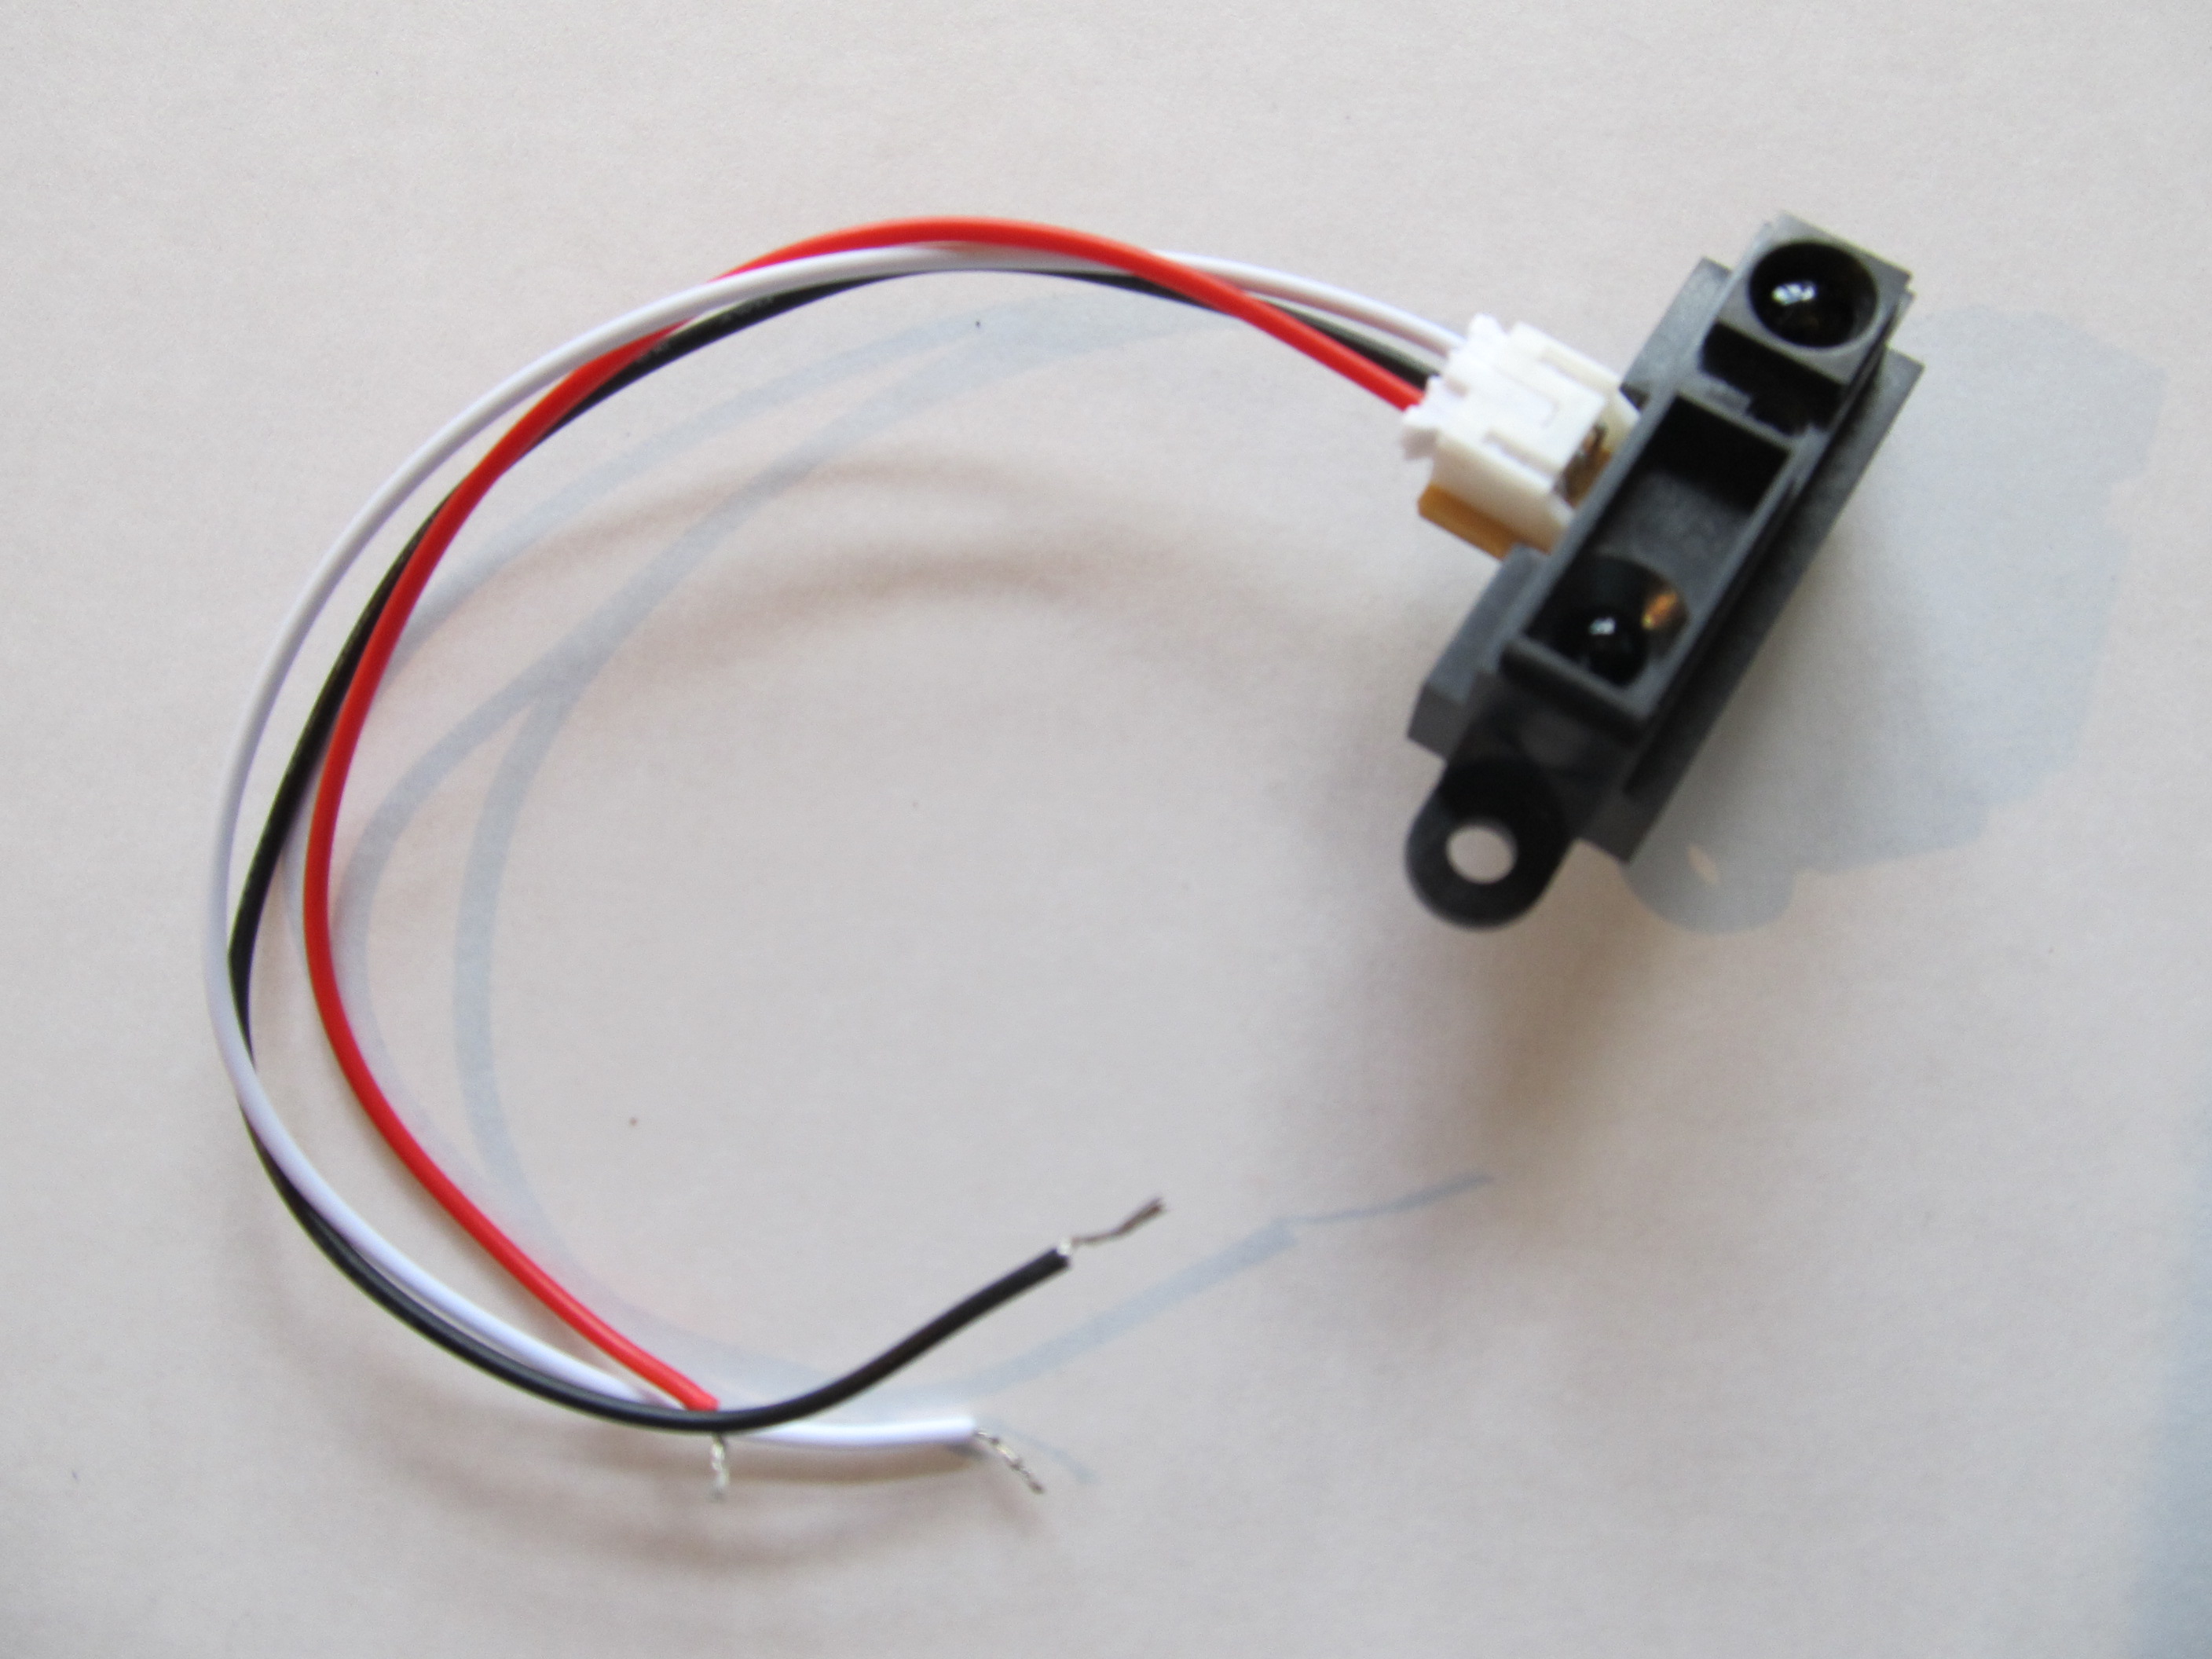
This sensor plugs into the I/O pins of the Arduino and we can then read its current value from our Arduino program and make decisions based on this. To complete the robot, we cut a base plate on to fix everything on to … and a robot was born:

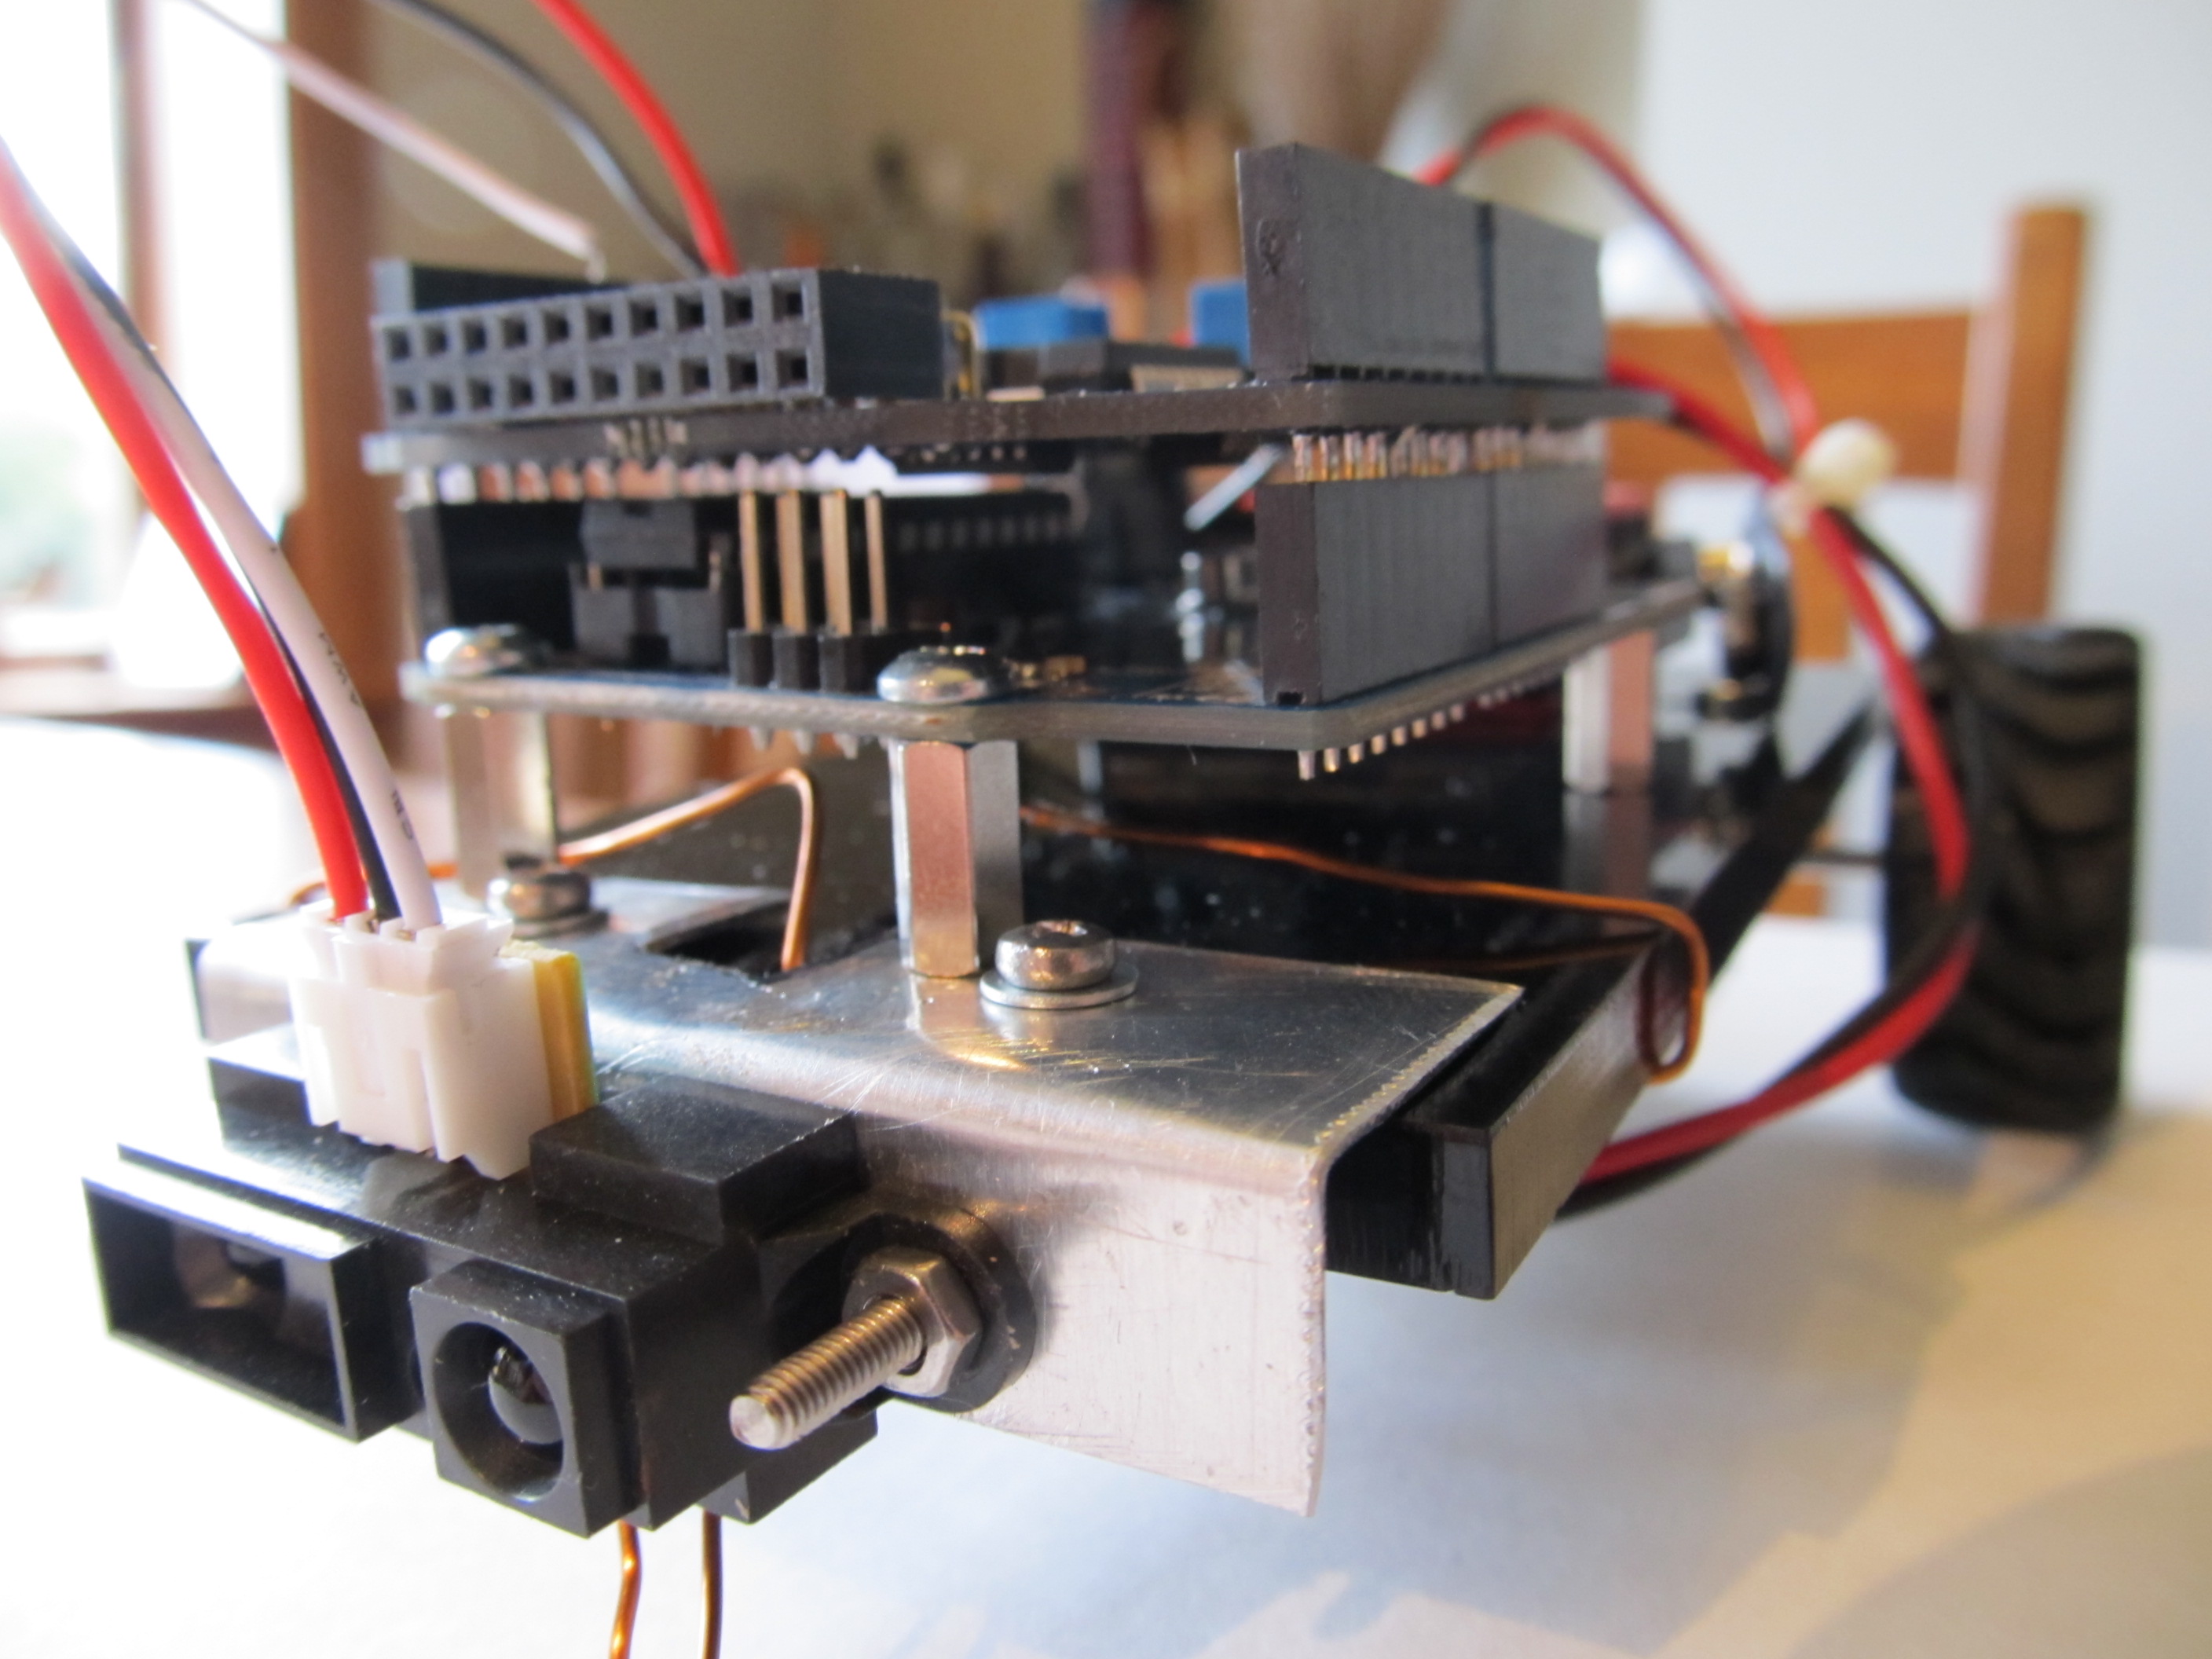
The robot really needs a better front wheel, and probably some more interesting sensors! But, for now, it’s enough to get the hang of programming the Arduino. Here’s my first program for it:
/* ============================================= */
/* Motor Code */
/* ============================================= */
const int pwmA = 3;
const int pwmB = 11;
const int dirA = 12;
const int dirB = 13;
const int brakeA = 9;
const int brakeB = 8;

const int STOP = 0;
const int SLOW = 50;
const int MEDIUM = 75;
const int FAST = 100;

void setMotors(int left, int right) {
 analogWrite(pwmA, left);
 analogWrite(pwmB, right);
}

void setReverse() {
  digitalWrite(dirA,HIGH);
  digitalWrite(dirB,HIGH);
}

void setForward() {
  digitalWrite(dirA,LOW);
  digitalWrite(dirB,LOW);
}

void brakesOff() {
 digitalWrite(brakeA,LOW);
 digitalWrite(brakeB,LOW);
}

/* ============================================= */
/* Sensor Code */
/* ============================================= */
const int VERY_CLOSE = 0;
const int CLOSE = 1;
const int FAR = 2;
const int NOTHING = 3;

int frontSensor() {
 int x = analogRead(0);
 if(x > 400) {
  return VERY_CLOSE;
 } else if(x > 300) {
  return CLOSE;
 } else if(x > 200) {
  return FAR;
 } else {
  return NOTHING;
 }
}

/* ============================================= */
/* Setup Code */
/* ============================================= */

void setup() {
 pinMode(pwmA, OUTPUT);  //Set control pins to be outputs
 pinMode(pwmB, OUTPUT);
 pinMode(dirA, OUTPUT);
 pinMode(dirB, OUTPUT);

 analogWrite(pwmA, STOP);
 analogWrite(pwmB, STOP);

 setForward();
 brakesOff();

 delay(3000);
}

/* ============================================= */
/* Controller Code */
/* ============================================= */

void loop()
{
  int sensor = frontSensor();

  switch(sensor) {
    case VERY_CLOSE:
      setReverse();
      setMotors(FAST,FAST);
      break;
    case CLOSE:
      setForward();
      setMotors(STOP,STOP);
      break;
    case FAR:
      setForward();
      setMotors(MEDIUM,MEDIUM);
      break;
    case NOTHING:
      setForward();
      setMotors(FAST,FAST);
      break;
  }
  delay(100);
}
This program moves the robot forward at the FAST speed, until an object comes into view. When the object is FAR away, the motors are reduced to MEDIUM speed; when the object is CLOSE, the motors are set to STOP; finally, when the object is VERY_CLOSE, the motors are reversed. Here’s a video of it working:
Building the robot wasn’t too hard, although I did have to dig out my soldering iron for the first time in quite a few years! And, having the workshop folks around was a great help, as they gave me useful advice and had access to equipment and tools (esp. for cutting the base plate).
For now, I’m still learning and will look to improve the robot’s capability to get a more interesting level of complexity. Ultimately, I want to be able to compile Whiley code down to run on the Arduino. We’re currently working on a C back-end for Whiley, and this will provide the launching pad for getting Whiley onto the Arduino (and, perhaps, other similar devices as well).
Comments Welcome!